

Last Updated: November 14, 2026
Quick Summary
Yes, a well-made quick-detach mount is as solid as a fixed mount for practical tactical use, and quality tactical mounts return to zero reliably when the clamp contacts the full rail width and the lever is adjusted to the rail. Most failures trace to soft metal in the clamp or a lever never fitted to the rail's actual width.
- Two-piece rings are the lightest option but are less forgiving of an imperfect rail.
- A 50mm objective typically needs roughly 1.5 inches of center height to clear a flat-top rail.
- Torque ring caps in an X pattern to the manufacturer's spec, usually 15 to 25 inch-pounds.
- Test return to zero by removing and reinstalling the optic five times and measuring each group.
- Check QD lever tension before every match, since lever wear is the consumable part.
Table of Contents
- What Makes a Mount Reliable in a Tactical Setup
- Quick Comparison: Mount Types at a Glance
- Are the Best Quick Detach Scope Mounts as Solid as Fixed Mounts?
- Scope Rings vs One-Piece Mounts: Which Holds Zero Better
- Choosing AR-15 Scope Mounts for Rail, Height, and Eye Relief
- Scope Mount Return to Zero: What Actually Drives Repeatability
- Rifle Scope Mount Installation Torque and Leveling Steps
- Long-Term Durability: Testing, Maintenance, and What to Watch
- Build Your Reliable Mount Setup with Elcas Tactical
- Frequently Asked Questions
What Makes a Mount Reliable in a Tactical Setup
Reliable tactical mounts hold your optic at the same point of impact through recoil, rough handling, and temperature swings. Reliability in reliable mounts for tactical shooting setups comes down to four things: rigid construction, consistent clamping force, a true return to zero, and hardware that does not creep under vibration.
Recommendations around those four traits matter because a mount failure rarely announces itself. It shows up as a shifted group at 600 yards, mid-stage, with no time to diagnose it.
Most guides treat "reliable" as a synonym for "expensive." That is wrong. A well-machined two-piece ring set on a properly bedded rail can outperform a poorly installed one-piece mount every day of the week.
Below, we break down mount types, what actually drives repeatability, installation torque, and long-term durability, so you can pick a setup that survives a full season of matches.
Quick Comparison: Mount Types at a Glance
Three tactical mounts families dominate tactical and precision setups. Each trades something to gain something.
| Mount Type | Weight | Return to Zero | Best For | Main Trade-off |
|---|---|---|---|---|
| Two-piece rings | Lightest | Good, if lapped and torqued | Bolt guns, hunting rifles | Less rail real estate |
| One-piece fixed mount | Moderate | Very good | AR-style rifles, precision builds | Heavier, higher cost |
| Quick-detach mount | Moderate to heavy | Good to very good when quality is high | Multi-optic setups, field transitions | Lever wear over time |
The right choice depends on whether you swap optics, how far you shoot, and how much weight you will tolerate.
Are the Best Quick Detach Scope Mounts as Solid as Fixed Mounts?
Yes, a well-made quick-detach mount is as solid as a fixed mount for practical tactical use.
The failure stories you hear usually trace to one of two causes: a cheap mount with soft metal in the clamp, or a lever that was never adjusted to the rail's actual width.
For shooters who want a fixed reference point, a one-piece scope mount gives you a rigid, repeatable platform with no lever to adjust.
Best for: shooters who run two optics on one rifle. Skip if: you never remove your scope and want the lowest possible weight.
Scope Rings vs One-Piece Mounts: Which Holds Zero Better
Two-piece rings hold zero well on bolt guns when installed correctly, but they depend on a straight rail and proper lapping.
Here is the practical difference. A one-piece mount indexes both rings to a single machined body, so the optic tube sits in one plane. Two-piece rings must each align to the rail independently. Any rail imperfection shows up as stress on the tube.
That does not make rings unreliable. It makes them less forgiving of a bad rail.
If you are comparing options, browse the scope rings we stock to see how ring height and tube diameter affect your setup.
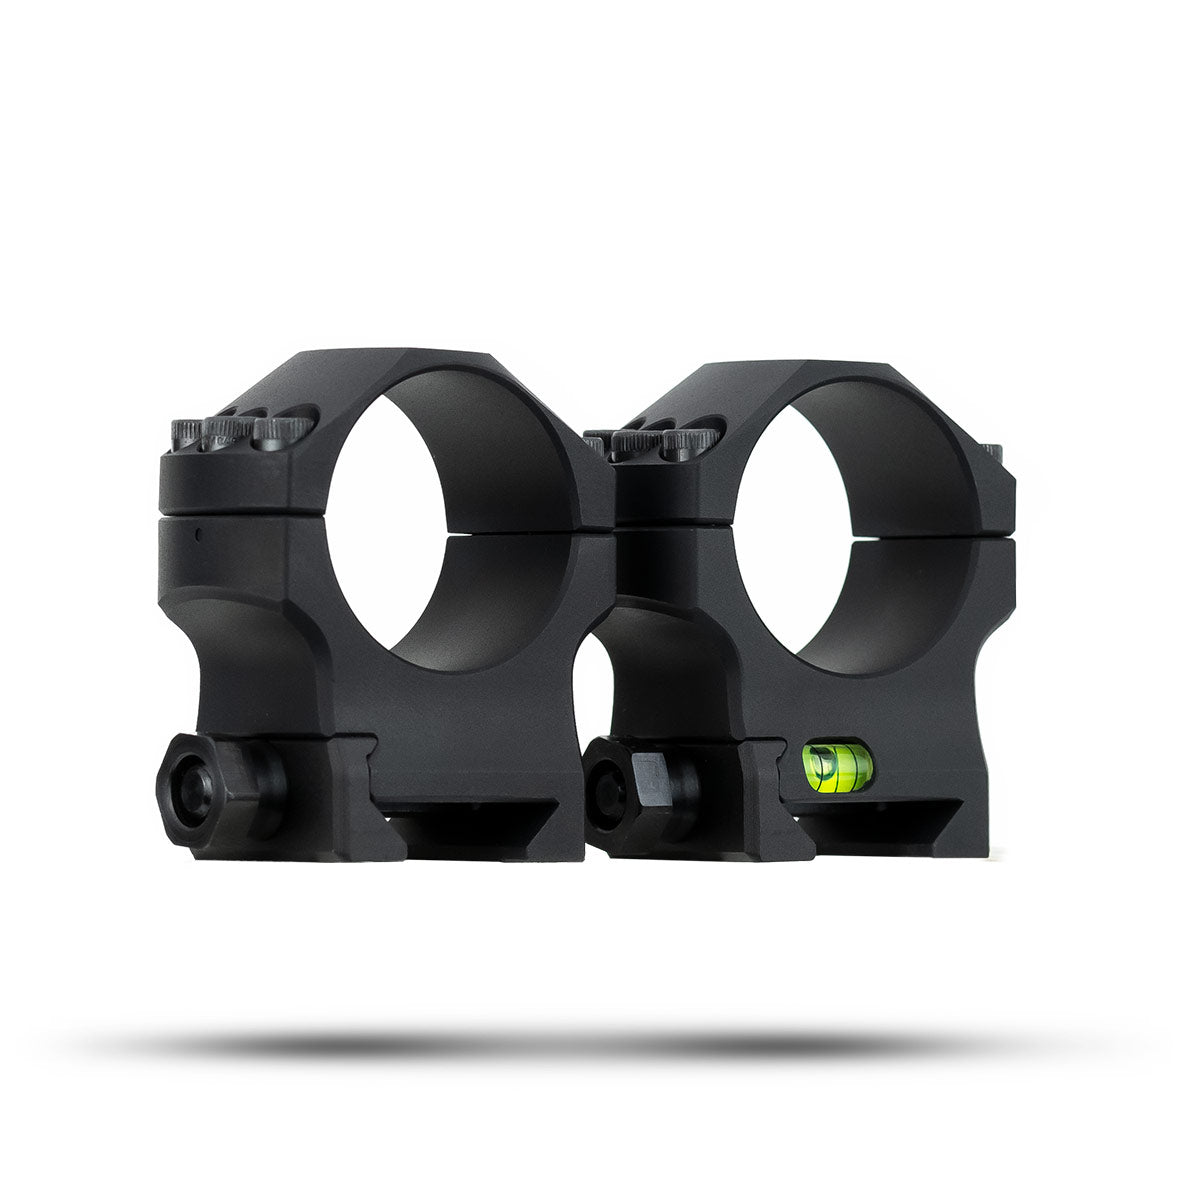
Best for one-piece: AR-15 and AR-10 builds, high-recoil calibers. Best for rings: bolt-action hunting rifles where weight matters.
Choosing AR-15 Scope Mounts for Rail, Height, and Eye Relief
Cantilever AR-15 scope mounts address a platform-specific problem: the upper receiver rail ends well before the handguard, so a standard ring set pushes the optic too far back for proper eye relief. The cantilever moves the tube forward over the handguard without bridging a free-floating handguard that can flex.
Most fitment errors trace to four specs that interact. Work through them in order rather than buying on height alone.
- Rail standard: MIL-STD-1913 Picatinny is the baseline. Confirm slot width and crossbolt spec, because a mount cut for a narrower or wider rail will clamp on the edges and shift under recoil. Weaver rails are not dimensionally identical to Picatinny and should not be treated as interchangeable.
- Tube diameter: 30mm and 34mm dominate tactical setups; 1-inch tubes are common on lighter builds. The ring bore must match the tube exactly. Do not rely on shims to make up a mismatch.
- Objective clearance: measure the outside diameter of the objective bell, not the lens diameter. A 50mm objective typically needs roughly 1.5 inches of center height to clear a flat-top rail; a 56mm objective often needs more. Confirm against your specific rail height and ring cap thickness rather than assuming.
- Eye relief and shooting position: set the stock to your length of pull, establish a natural cheek weld, and measure the distance from your eye to the ocular lens. Mount height and cantilever offset must place the ocular at that distance with the stock fully extended. Buying the mount first and fitting the rifle second is backwards.
A simple compatibility matrix keeps the decision honest. List your rifle model, rail standard, optic tube diameter, objective outside diameter, intended shooting position (standing, prone, or supported), and required eye relief. Any mount that fails one column is the wrong mount, regardless of price or reputation.
Mount height is an ergonomics decision, not a preference. Too low forces you to lift your cheek off the stock, and a floating cheek weld is one of the most common causes of inconsistent groups at distance. Too high forces your head up and reduces the repeatable contact point. For prone and supported shooting, a slightly higher mount can improve neck position; for standing and unsupported work, a lower mount that keeps your head upright is usually easier to repeat.
Cant is a separate variable. A 20 MOA cantilever helps if you shoot past 600 yards and your scope has limited elevation travel, but it also shifts the erector toward one end of its range. Confirm your scope's total elevation travel before adding cant you do not need.
For a 34mm tube with 20 MOA built in, a 34mm cantilever mount covers the rail, height, and eye relief requirements in one part, but only after you have confirmed the objective clearance and eye relief numbers for your rifle.
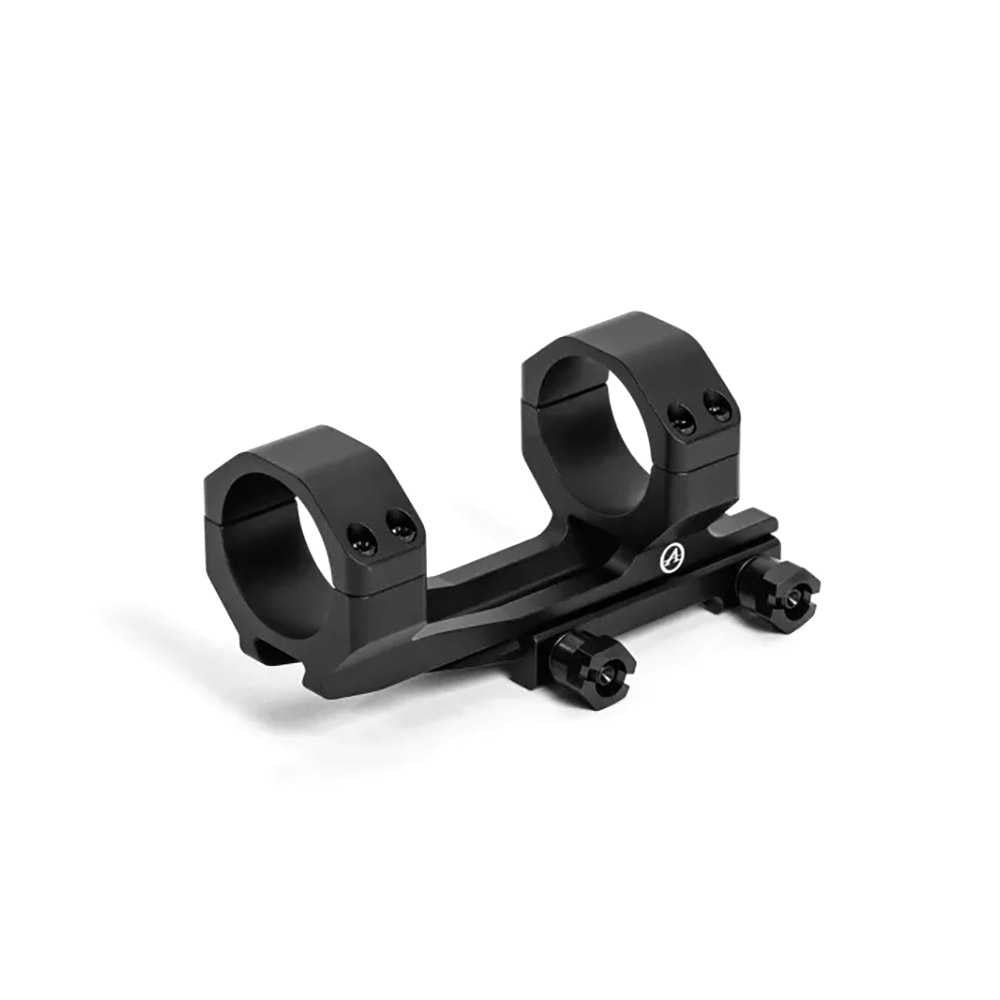
Watch out: a mount that is too low forces you to lift your cheek off the stock, and a floating cheek weld is one of the most common causes of inconsistent groups at distance.
Scope Mount Return to Zero: What Actually Drives Repeatability
Return to zero is the ability of a mount to put the optic back on the same point of impact after removal and reinstallation. Repeatability comes from three things: a consistent clamping surface, a hard stop that indexes the mount to the same rail slot, and lever or screw tension that does not change between installs.
Recoil testing tells the story. A mount that shifts under recoil will not return to zero because it never held zero in the first place. The two failures look identical on paper.
What separates a mount that repeats from one that drifts:
- Machined recoil lugs that engage the rail slot
- A clamp that contacts the full rail width, not just the edges
- Fasteners that hold torque through vibration cycles
A common mistake is judging return to zero from one removal and reinstall. Do it five times and measure each group. That is the only test that tells you whether the mount is repeatable or lucky.
Rifle Scope Mount Installation Torque and Leveling Steps
Correct installation is the difference between a reliable mount and a loose optic. Follow these steps in order.
- Clean the rail and mount mating surfaces with isopropyl alcohol and let them dry.
- Seat the mount on the rail and push it forward into the recoil lug before tightening.
- Snug the crossbolts in an X pattern to finger tight.
- Set the scope in the rings and check eye relief with your natural cheek weld.
- Level the reticle using a plumb line or a leveling kit, not by eye.
- Torque ring caps in an X pattern to the manufacturer's spec, usually in the 15 to 25 inch-pound range for ring screws.
- Torque the crossbolts to spec, typically 30 to 45 inch-pounds, and re-check after 24 hours.
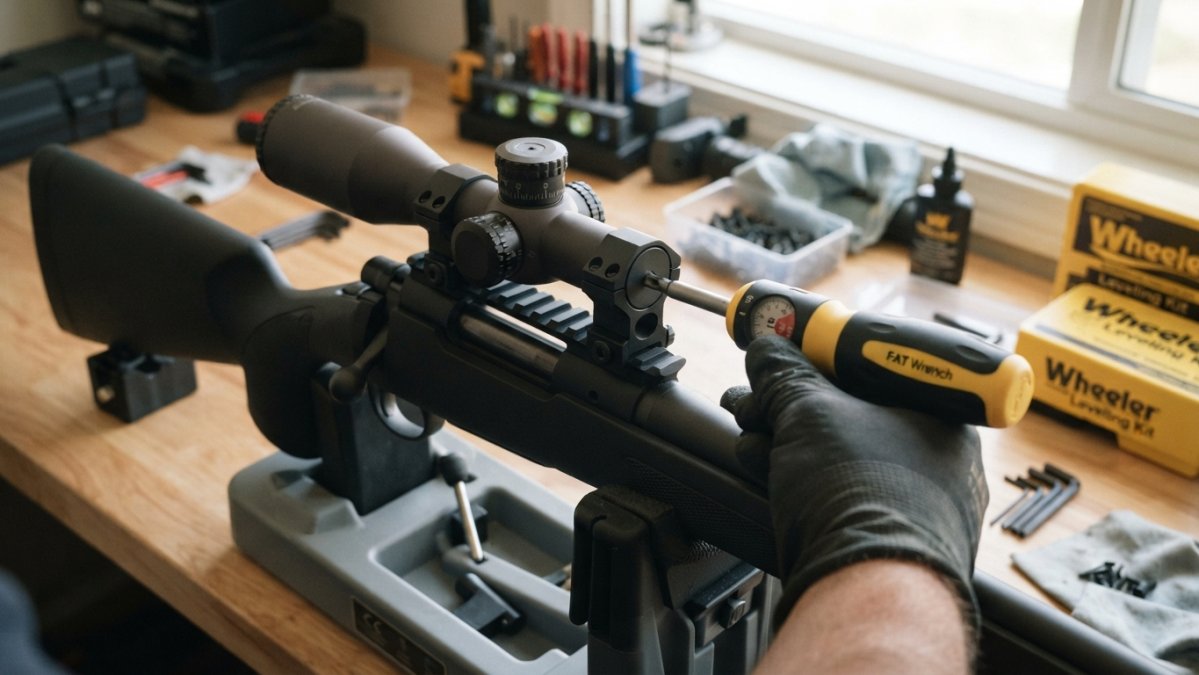
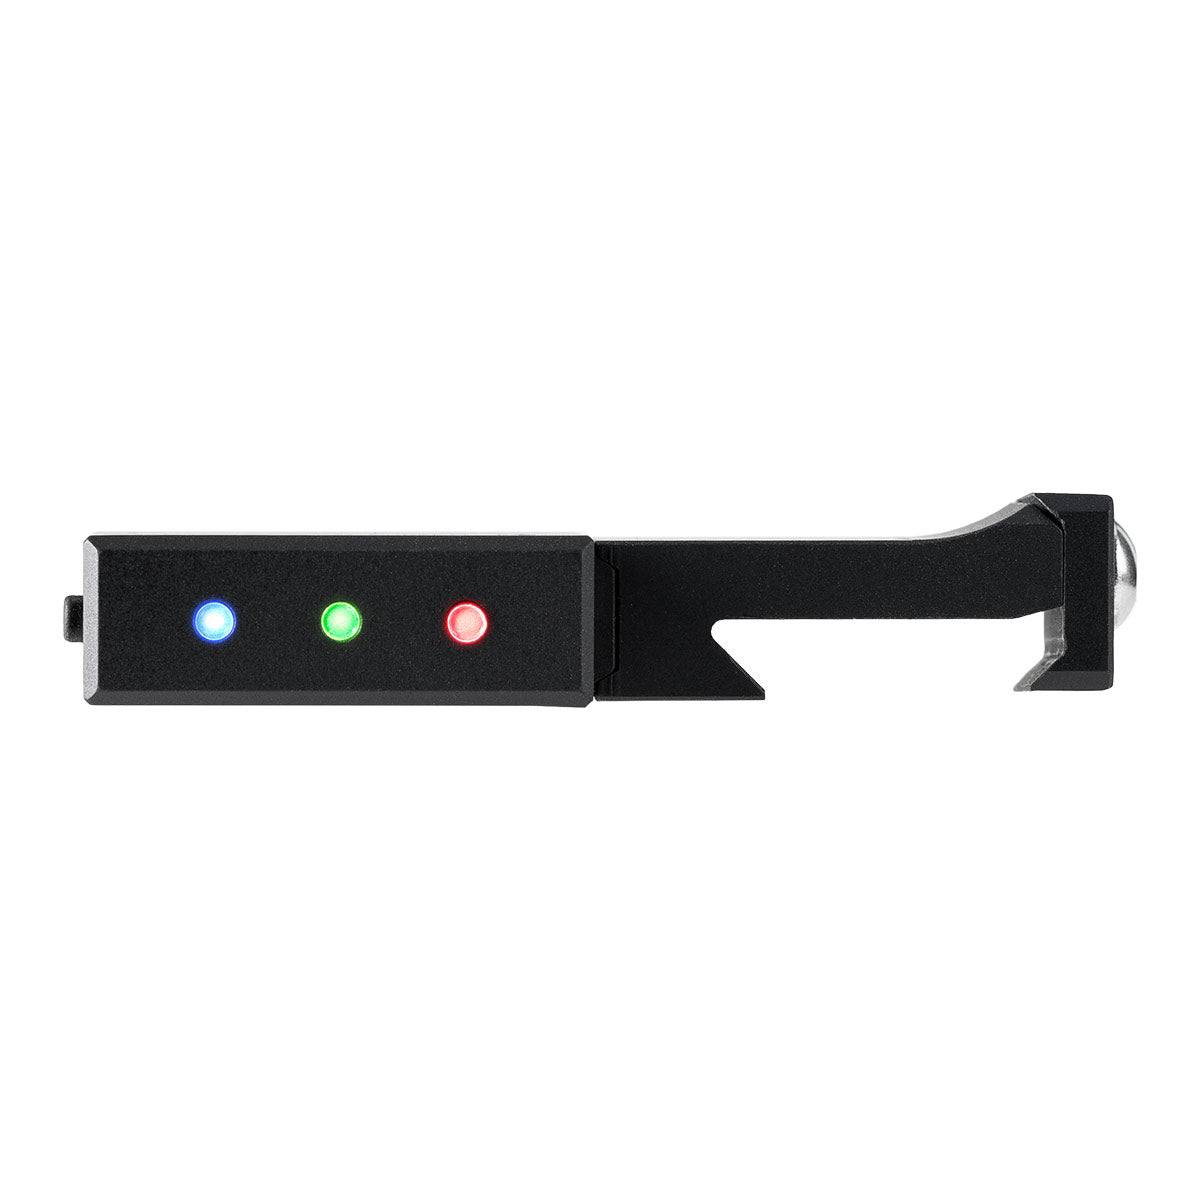
A rifle-mounted electronic level takes the guesswork out of step five. The electronic level we carry mounts to the rifle and confirms cant before you lock the rings down.
Watch out: over-torquing ring caps crushes the tube and can bind the erector assembly. Under-torquing lets the scope slip under recoil. Split the difference with a calibrated wrench, not feel.
Long-Term Durability: Testing, Maintenance, and What to Watch
Durability claims are easy to make and hard to verify. The useful approach is a controlled, repeatable protocol you can run yourself, because a mount that survives one range session tells you very little about a full season of matches.
A practical protocol looks like this. Record a baseline group at a known distance with a known load. Then run a defined cycle: fire a set number of rounds, remove the optic, reinstall it to the same rail slot and torque, and fire another group. Repeat that cycle several times and record the point-of-impact shift each time. The mount that returns to the same point of impact across every cycle is the one that is actually repeatable. A mount that groups well once but drifts on the third or fourth reinstall is not reliable, even if it never visibly loosens.
Pair the return-to-zero cycle with a torque audit. Check ring cap and crossbolt fasteners with a calibrated wrench before the first cycle and after each block of rounds. Fasteners that lose torque under vibration are telling you the clamp is not holding preload. Re-torque to the manufacturer's spec and note whether the loss repeats.
What to inspect each season:
- Lever tension on QD mounts, re-adjust as the lever wears in, and check it before every match rather than after
- Fastener torque, re-check after the first few hundred rounds and again after any removal and reinstall
- Rail slot wear, especially on aluminum rails under heavy magnum recoil, where the recoil lug can peen the slot over time
- Fretting marks at the clamp-to-rail interface, which indicate movement even when the mount still feels tight
- Corrosion at the clamp and fastener threads, particularly on rifles used in wet or coastal conditions
Maintenance is mostly about preload and contact surfaces. Keep the rail and clamp free of grit, apply the manufacturer's recommended thread treatment where specified, and replace fasteners that show stretched threads or rounded heads rather than reusing them. On QD mounts, lever wear is the consumable part; once the lever is past its adjustment range, the mount will not hold tension no matter how carefully you set it.
The limitation of any test is that it measures your rifle, your ammo, and your rail. A mount that repeats on one rifle may behave differently on another with a worn or out-of-spec rail. Treat published test results and manufacturer claims as a starting point, not a guarantee, and run your own cycle before you trust a mount on a stage that matters.
Watch out: a common mistake is ignoring lever tension until the mount feels loose. By then the lever has worn past its adjustment range, and the fix is a replacement, not an adjustment.
Build Your Reliable Mount Setup with Elcas Tactical
A mount is the cheapest part of a precision build and the one most likely to cost you a stage. Get the clamping, torque, and return to zero right and the rest of the system has a stable foundation to work from.
At Elcas Tactical, we offer a specialized selection of hunting and competition shooting equipment, including tripods and shooting accessories designed for demanding field conditions. Spartan Precision Equipment tripods and Disc-Lok adapters are built from hard-anodized 7075-T7351 aluminum and stainless steel, as listed in their specifications.
If you are still assembling the rifle around the optic, our guide to the best chassis for Tikka T3x builds covers the next decision.
The weakest link in a tactical setup is usually the part holding the optic. Start with a mount that clamps consistently, torque it to spec, and verify return to zero before you trust it. Elcas Tactical carries the tripods, adapters, and mounting accessories that keep a precision rifle stable in the field, from Disc-Lok quick-detach hardware to heavy-duty rail adapters. Get started with Elcas Tactical and build a setup that holds zero when it counts.
Frequently Asked Questions
What makes a rifle scope mount reliable?
A reliable mount clamps to the rail with consistent force, keeps the optic tube straight, and returns to the same position after removal. Look for machined aluminum or steel construction, a clamping surface that matches the rail spec, and fasteners with a stated torque specification. The Spartan HD Disc-Lok Picatinny Adapter, for example, uses 7075-T7351 aluminum and SUS303 stainless steel with a quick-release lever.
Are quick-detach scope mounts as reliable as fixed mounts?
Lever-actuated designs with adjustable tension and a solid recoil lug tend to repeat better than friction-only clamps. Quick-detach adds value when you switch between optics or move a rifle between tripod and shoulder use. If you never remove the optic, a fixed mount removes one variable. Test any quick-detach mount with a box drill before trusting it in a match.
What is the difference between scope rings and a one-piece mount?
Scope rings clamp the tube at two separate points and give you more freedom in ring spacing, which suits long actions and unusual tube diameters. A one-piece mount ties both rings to a single base, so alignment and ring spacing are fixed and there is less chance of twisting the tube during installation. For AR-style rifles with a flat-top rail, a one-piece mount with the correct height and forward offset usually makes eye relief easier to set. Two-piece rings work well on bolt guns where you want to fine-tune spacing.
How do you keep a scope mount from losing zero?
Torque every fastener to the manufacturer's specification with a calibrated wrench, degrease the rail and ring surfaces before assembly, and use a lapping or bedding step if the rings are not aligned. Mount the optic so the tube sits stress-free, then confirm with a level and a plumb line. After that, check torque after the first range session and again before a match. A mount that shifts is usually a clamping or torque problem, not a scope problem.
How high should a scope mount be on a tactical rifle?
Height depends on your shooting position and cheek weld. A prone or bench setup usually wants a lower mount so your cheek sits firmly on the stock. Standing or tripod-supported shooting often benefits from a taller mount that keeps your head more upright and your eye relief consistent. On AR-style rifles, the flat-top rail usually needs a taller mount than a bolt gun. Set height so you get a full sight picture without lifting your cheek, then confirm eye relief at your most common shooting position.
